The PCB for the ESP32 frontplate is done and works. Now its time to build a enclosure for it.
The idea was to build a interface with the ESP 32 frontplate to control the amplifier. So the frontplate should mounted on a good position at the speaker. The name frontplate says it, it is planed to mount the frontplate on the front of the speaker. For this we need a holder for the PCB which can be mounted on the speaker. A easy and fast method to get a customized holder is the 3d print.
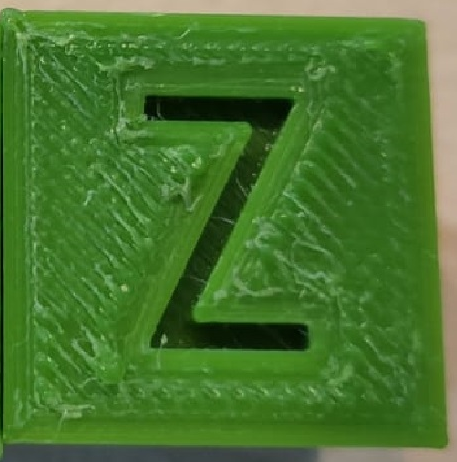
3d printed parts did not have a great surface finish, because the printer lines up the filament at the print plate. The 3d printed surface from a calibration cube is shown in the following picture:
With the 3d printer you can make good detailed holder but they does not look great. So we need a surface plate over the 3d printed holder to get a decent look. This surface plate must be mounted on the 3d printed holder and must have an area for the OLED display. Many devices have a tinted glass in front of the display. The advantage is that you can not look through the glass and see the 3d printed holder but if the display shines you can see the display.
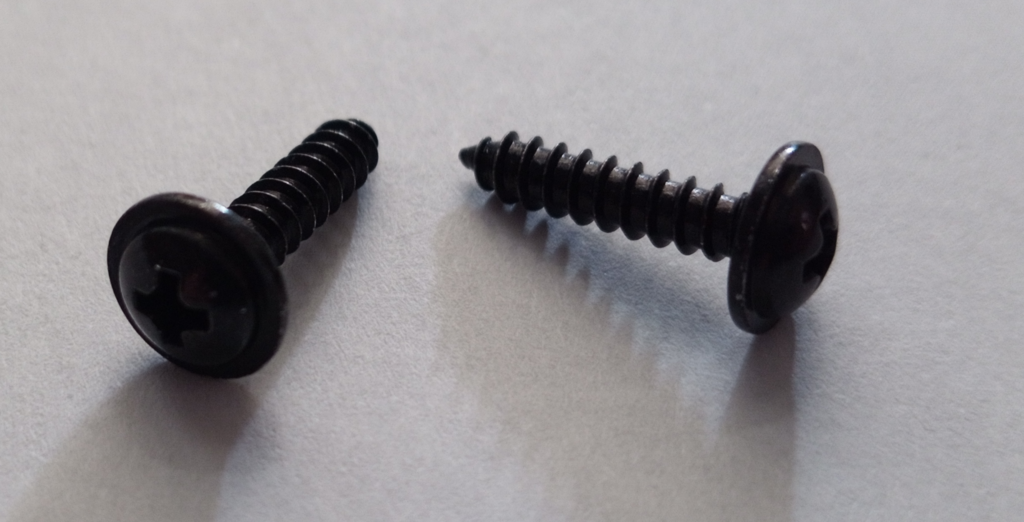
At first i planed to use a the 3M 9088 PET duct tape to mount the 3d printed holder to the speaker but also the surface plate must be mount to the speaker. If we use the same duct tape to mount the surface plate on the 3d printed holder you can see the duct tape strips. This does not look good. So we need a glue free mounting option. We can use some screws, but you can see the screws if you looking on the frontplate. But i have no better idea for a mounting option. So lets take some good looking the screws like these flat head tapping screws:
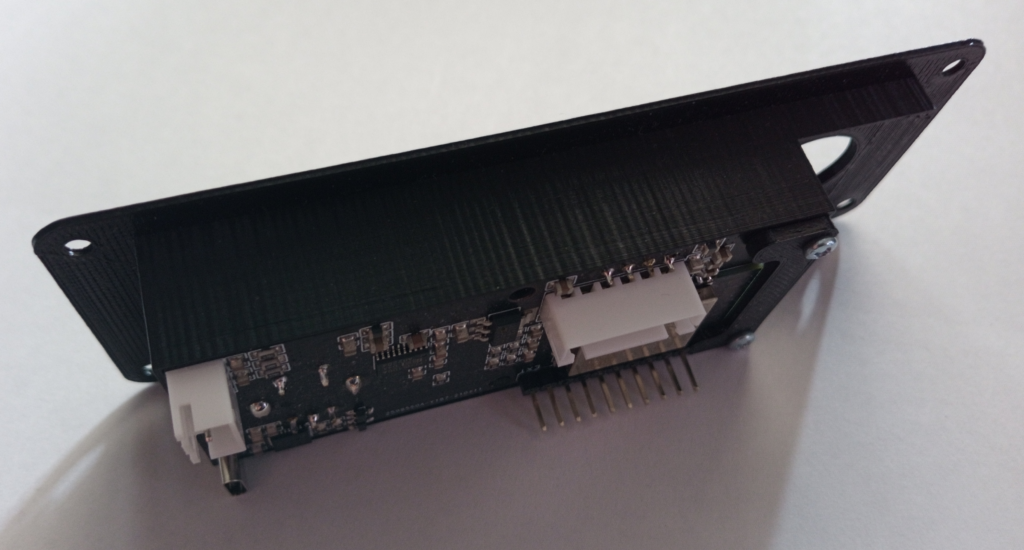
Now we know how we wanna mount the 3d printed holder with the surface plate to the speaker and can start to build the first 3d printed holder. Lets start to construct and print the holder. After the print this is the result with the PCB inside:

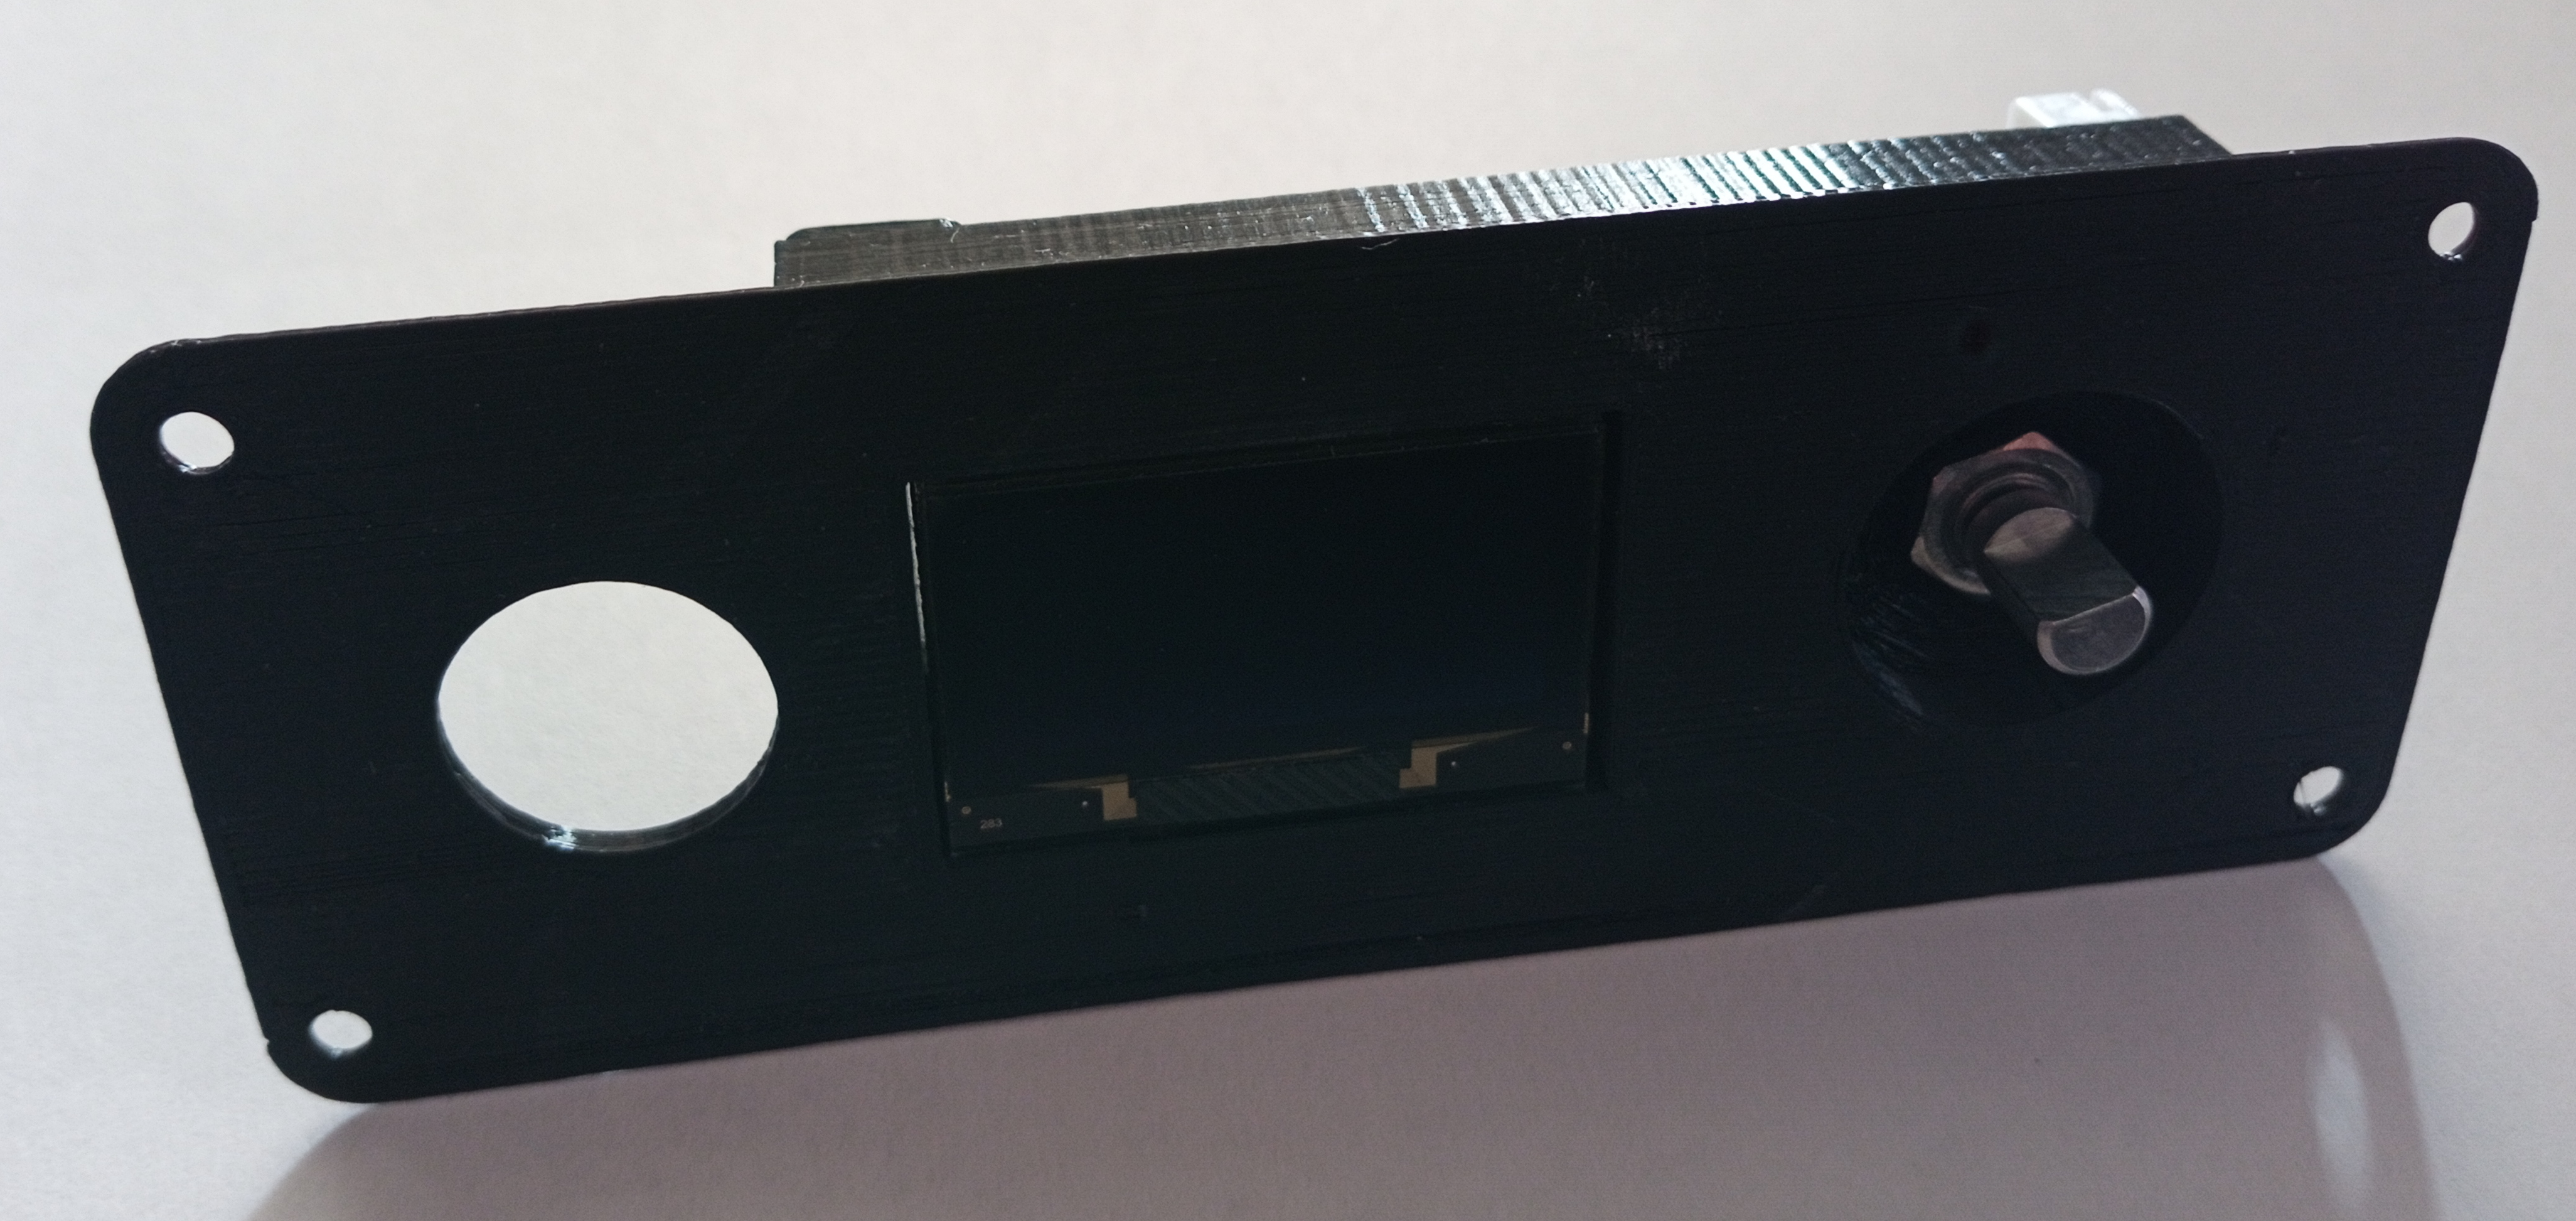
At the construction i noticed that i don’t have think about the size of the rotary encoder knob and the size of the power switch. So i made the power switch 16mm and the rotary encoder knob hole 21mm.
Before we can order the tinted glass surface plate we need to clarify if the size of the rotary encoder knob and the power switch is good and parts with these size are available.
Other posts about audio: